The Ultimate Guide to Chimney Waterproofing: Expert Tips to Prevent Water Damage
Introduction
Water damage can wreak havoc on your home, but ensuring your chimney is waterproofed can save you from costly repairs. With various ways water can enter your chimney, such as rain, snow, and condensation, the masonry can deteriorate over time, leading to cracks and structural problems. By applying a waterproofing sealant to your chimney, you create a barrier that prevents water from seeping in and causing damage.
Inspecting the mortar joints and ensuring they are in good condition is crucial before applying any sealant. Regularly checking for areas of damage or deterioration helps spot cracks, voids, or missing mortar. This proactive step is essential for maintaining the integrity of your chimney and preventing water infiltration.
Understanding the importance of chimney waterproofing can lead to fewer repairs and lower costs for homeowners. Whether you choose to seek professional help or take the DIY route, keeping your chimney waterproofed is a key part of home maintenance. This guide aims to provide you with the essential steps and tips you need to protect your home from water damage.
Key Takeaways
- Chimney waterproofing prevents water damage and reduces repair costs.
- Regular inspection and maintenance of mortar joints are essential.
- Both professional and DIY waterproofing can effectively protect your home.
Understanding Chimney Water Damage
Water damage in chimneys is a critical issue that can lead to extensive home repairs if not addressed. Identifying the signs of water damage and understanding its effects on chimney structures can help homeowners take proactive measures.
Common Signs of Water Damage
Several indicators can alert homeowners to potential water damage in their chimneys. One of the most visible signs is water stains on the walls or ceiling near the chimney. These stains can appear as dark patches or discoloration on the surface.
Another common sign is efflorescence, which is a white, powdery substance that appears on the chimney’s exterior. This occurs when water travels through the masonry, bringing salts to the surface where they crystallize.
Mold growth around the chimney area is also a key indicator of moisture problems. Mold can appear as black, green, or white patches and often has a musty smell.
Rust on the damper or firebox is another sign of water penetration. This rust can weaken the metal components and lead to further deterioration.
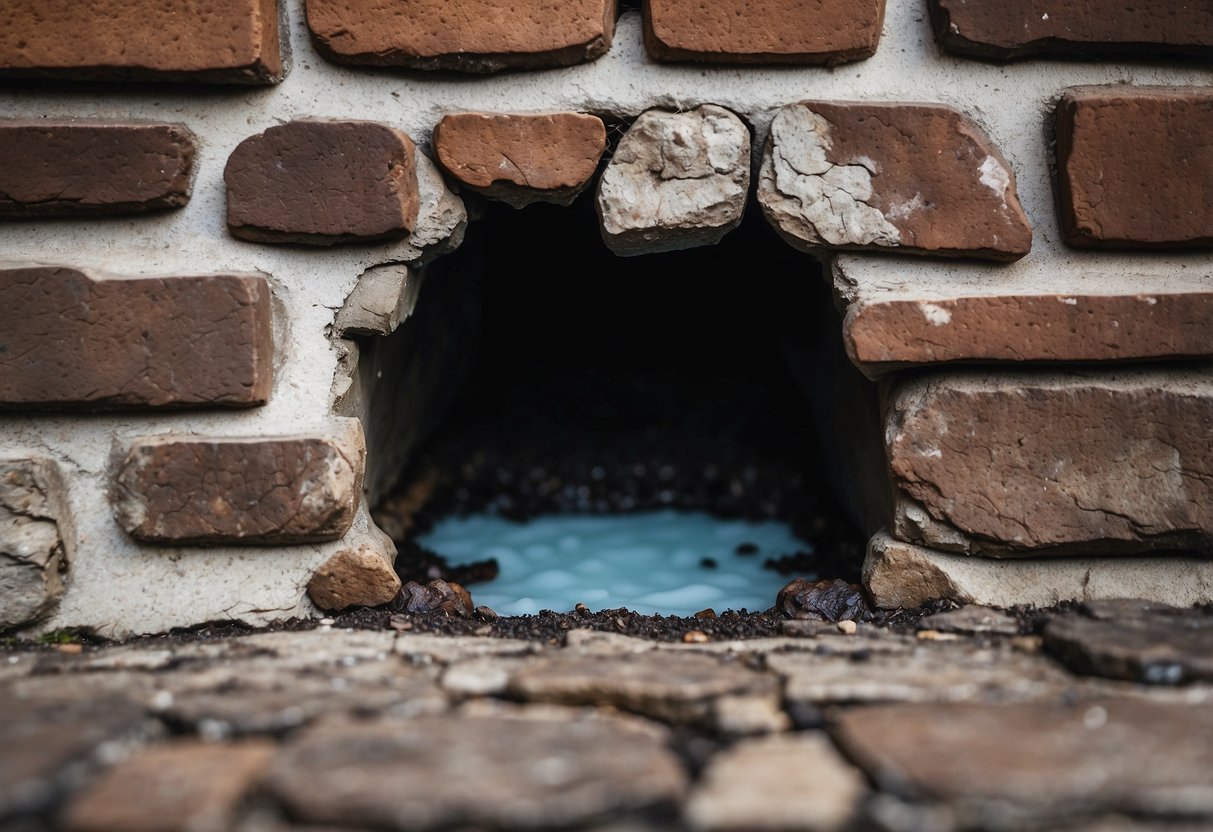
Checking for cracked or spalling bricks and deteriorated mortar is important. These damages are often caused by water infiltration and can compromise the chimney’s structural integrity.
Effects of Water on Chimney Structures
Water can have devastating effects on the structural components of a chimney. When moisture penetrates the masonry, it can cause the bricks and mortar to deteriorate over time. This weakening can lead to significant structural issues, requiring expensive repairs.
Freeze and thaw cycles are particularly harmful. Water that enters the chimney structure can freeze in cold weather, expanding and causing the masonry to crack. When the ice thaws, it creates gaps that allow more water to seep in, perpetuating the damage.
Efflorescence can be both a cosmetic and structural problem. While it primarily affects the appearance, it indicates ongoing water issues that can weaken the chimney’s masonry.
Continuous moisture exposure can also lead to mold growth, which can spread to other parts of the home. Mold damage poses health risks and demands prompt remediation.
Rust on metal components within the chimney, like the damper and firebox, can lead to functional issues and reduce the lifespan of these parts. Rust can cause these components to stick, warp, or completely fail, necessitating replacements.
Understanding these effects underscores the importance of regular chimney inspections and timely waterproofing measures to protect your home.
Key Components of a Chimney System
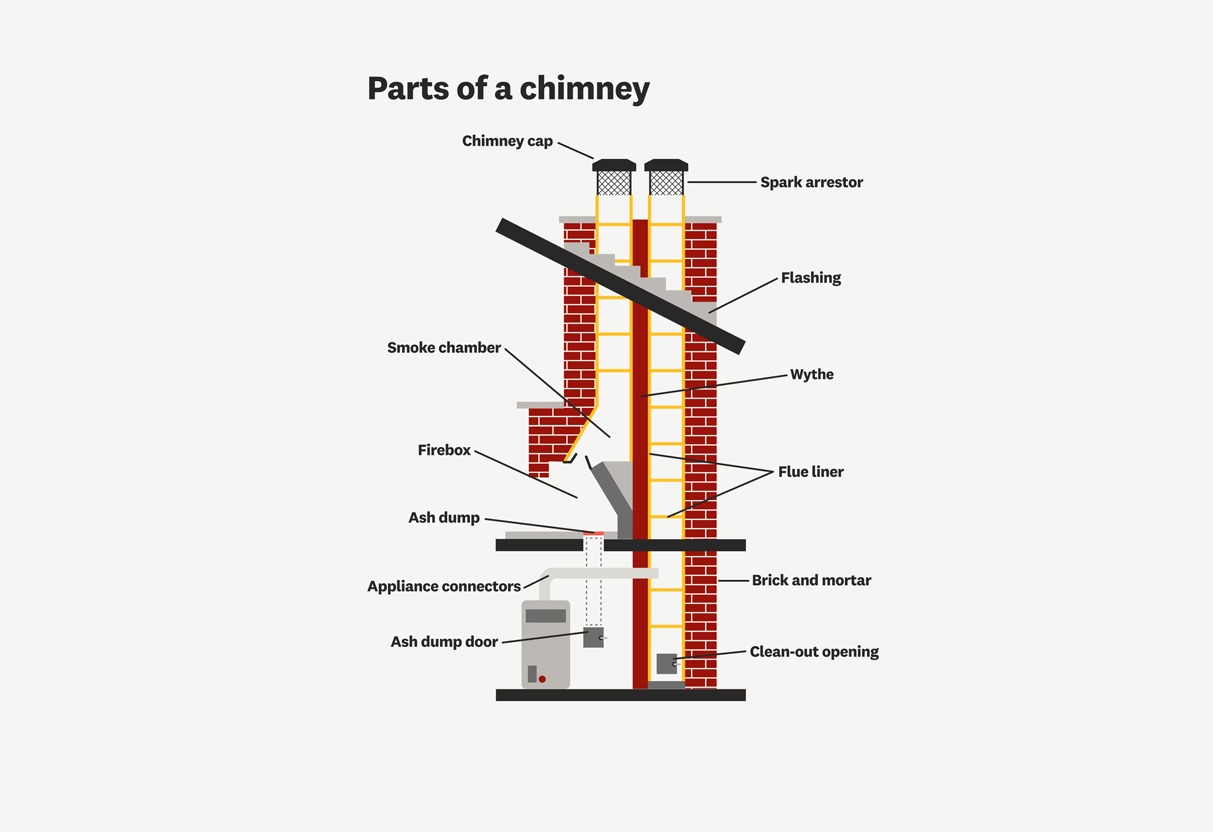
Understanding the key parts of a chimney system is essential for maintaining it properly. Each component has a specific role in ensuring your chimney functions safely and efficiently.
Masonry and Mortar Joints
The masonry and mortar joints are the backbone of a chimney structure. Bricks and mortar form the main body, providing strength and stability. The mortar joints, located between the bricks, are critical as they seal gaps and prevent water from entering. They can erode over time, especially if exposed to harsh weather. Regular inspection and maintenance of these joints are vital to stop water penetration and structural issues.
Damaged or deteriorated mortar can lead to significant problems. Small cracks and voids allow water to seep in, which can freeze and expand in colder months, causing further damage. Using a waterproof sealant on the masonry helps create an additional protective barrier, keeping your chimney in good condition for longer.
Chimney Caps and Crowns
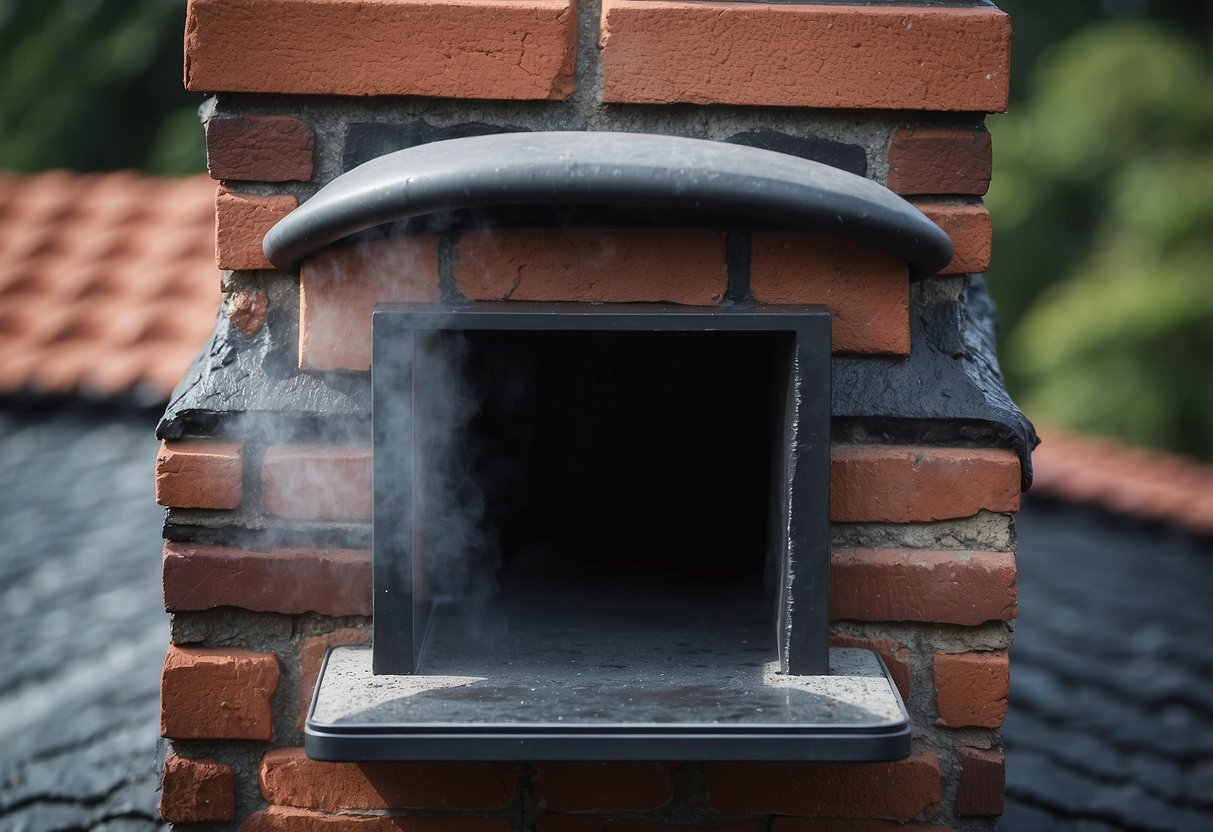
Chimney caps and crowns play a crucial role in protecting your chimney from water damage. A chimney cap sits on top of the flue and prevents rain, snow, and debris from entering. It also keeps animals like birds and squirrels from nesting inside the chimney. Chimney caps are usually made of metal and need to be checked regularly for rust or damage.
The chimney crown is a concrete slab at the very top of the chimney. It seals the top of the masonry and prevents water from seeping into the brickwork. A well-constructed crown slopes away from the flue to direct water away. Cracks in the crown can allow water to penetrate and cause structural damage, so it’s important to repair any damage promptly.
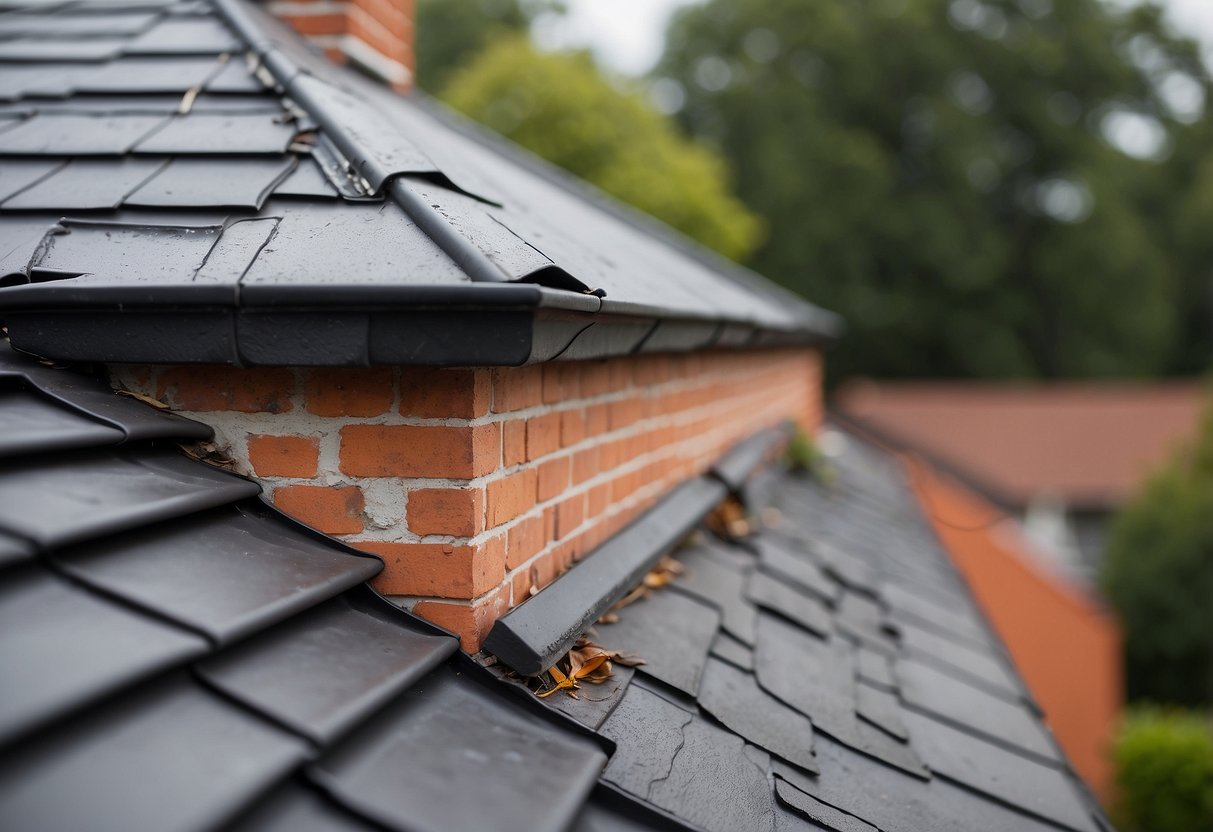
Flashing and Flue
Flashing and flue liners are essential for a watertight and efficient chimney system. Flashing is a metal barrier installed where the chimney meets the roof. This crucial component prevents water from leaking into the house at this junction. Properly installed flashing, checked and sealed regularly, helps keep the roof and chimney dry.
The flue is the passage through which smoke and combustion gases exit the house. A flue liner, made of clay tiles, stainless steel, or concrete, protects the chimney walls from heat and corrosion. It channels byproducts safely outside. Over time, flue liners can crack or deteriorate, so they should be inspected and cleaned annually to ensure they are functioning correctly.
Preventive Measures and Maintenance
Preventive measures and regular maintenance are crucial to protect your chimney from water damage. By following these practices, homeowners can avoid costly repairs and extend the lifespan of their chimney.
Regular Maintenance Routines
Regular maintenance is essential to keep your chimney in good condition. It helps in preventing water from seeping into the masonry. Conducting an annual inspection by a professional chimney sweep ensures that any potential issues are identified early. They clean soot, ash, and creosote buildup, which can lead to chimney fires and structural damage.
Homeowners should also clean visible areas of the chimney. Removing leaves, twigs, and other debris from the chimney cap prevents blockages that can cause moisture buildup. Applying a waterproofing sealant creates a barrier that stops water penetration, protecting the bricks and mortar.
Spotting and Repairing Small Issues
Spotting and repairing small issues early can prevent larger, more costly problems. Homeowners should check for cracks, gaps, and missing mortar, which are common entry points for water. These small issues can often be addressed through simple repairs.
Repointing the chimney, which involves replacing deteriorating mortar between bricks, helps maintain structural integrity. Using a silicone-based sealant on these small repairs can waterproof and protect these vulnerable areas. Regular inspections help identify these minor issues before they become significant problems. This proactive approach saves money and protects the home from extensive water damage.
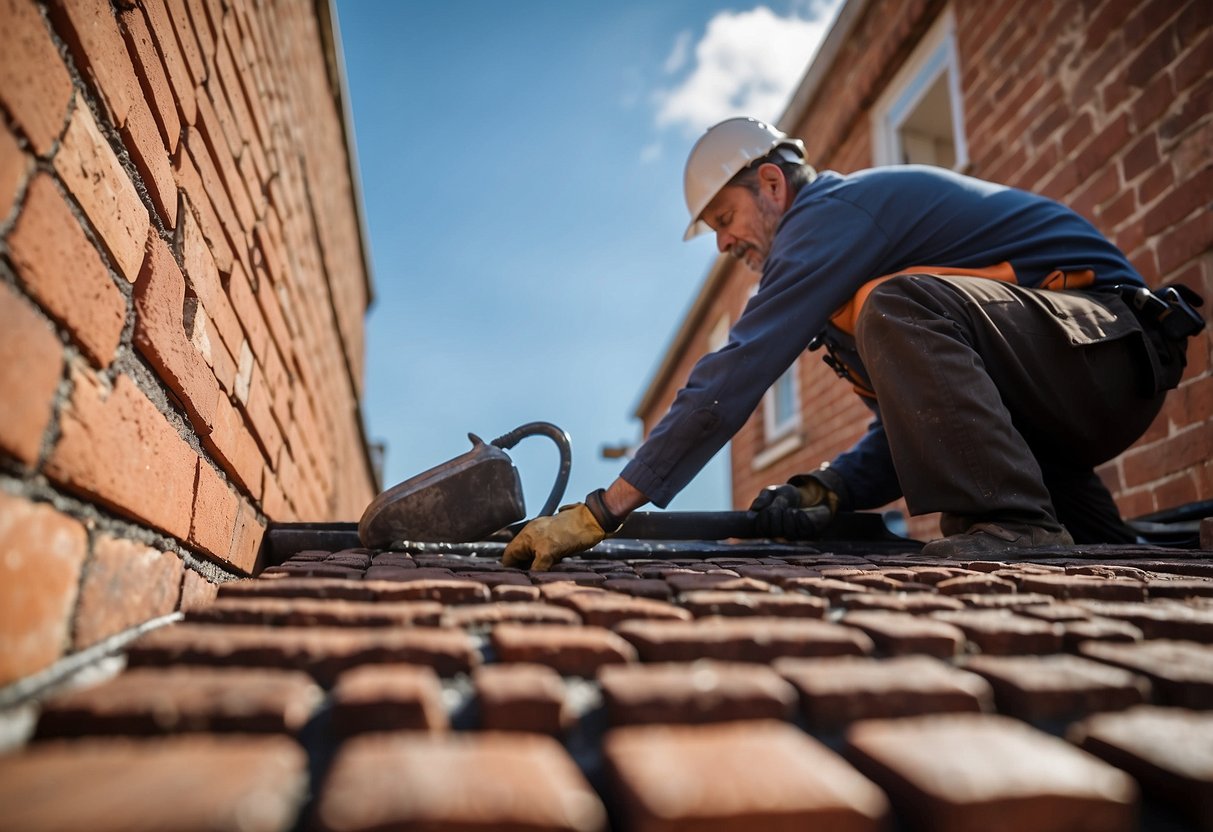
Professional Chimney Waterproofing Process
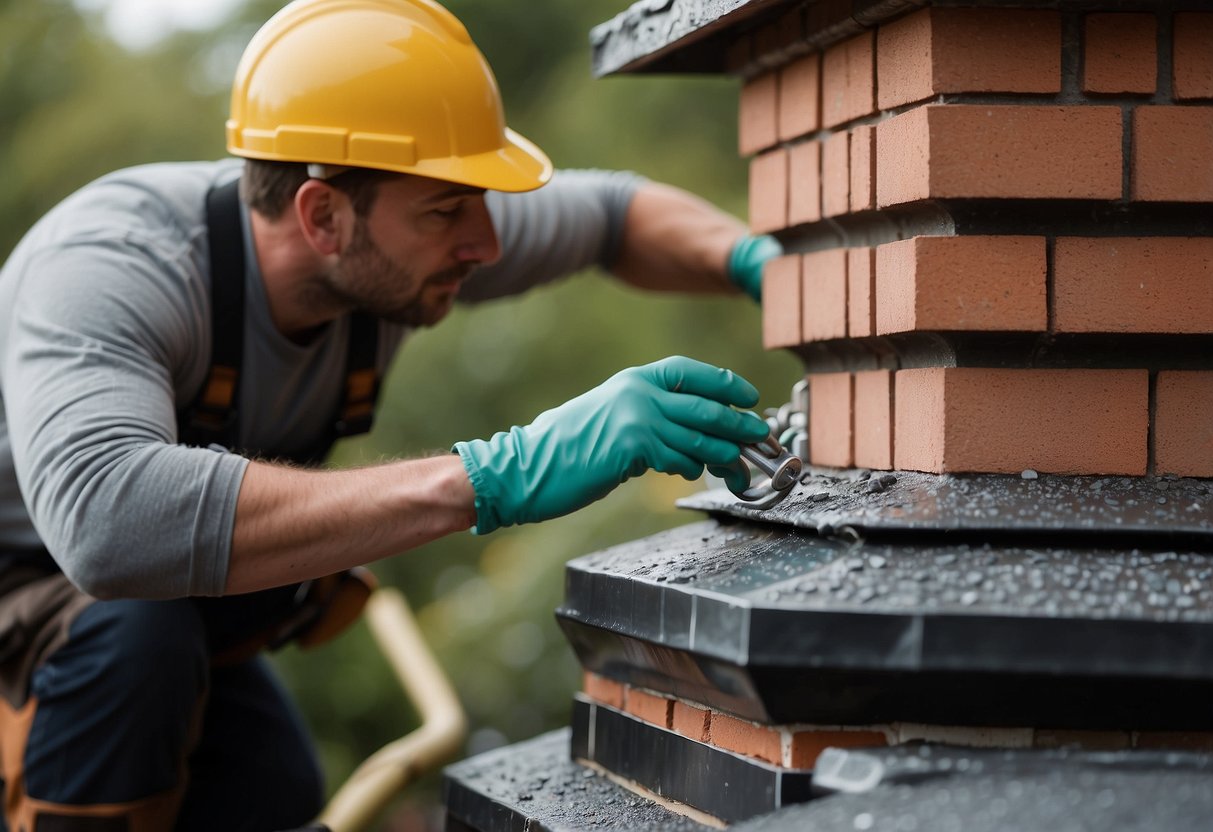
Professional chimney waterproofing involves a detailed inspection to assess damage and the application of specialized waterproofing agents to protect the structure. It ensures that water does not seep into the chimney, avoiding long-term damage.
Inspection and Assessment
Initially, a thorough inspection is conducted by professional chimney sweeps. They look for damaged mortar joints, bricks, and other structural weaknesses. These inspections often reveal cracks, gaps, and areas where water can penetrate.
During the inspection, the sweeps scrape out any loose debris using tools like mortar joint rakers. They make note of any significant structural problems that might need immediate attention. This step helps in selecting the right materials for repair and waterproofing.
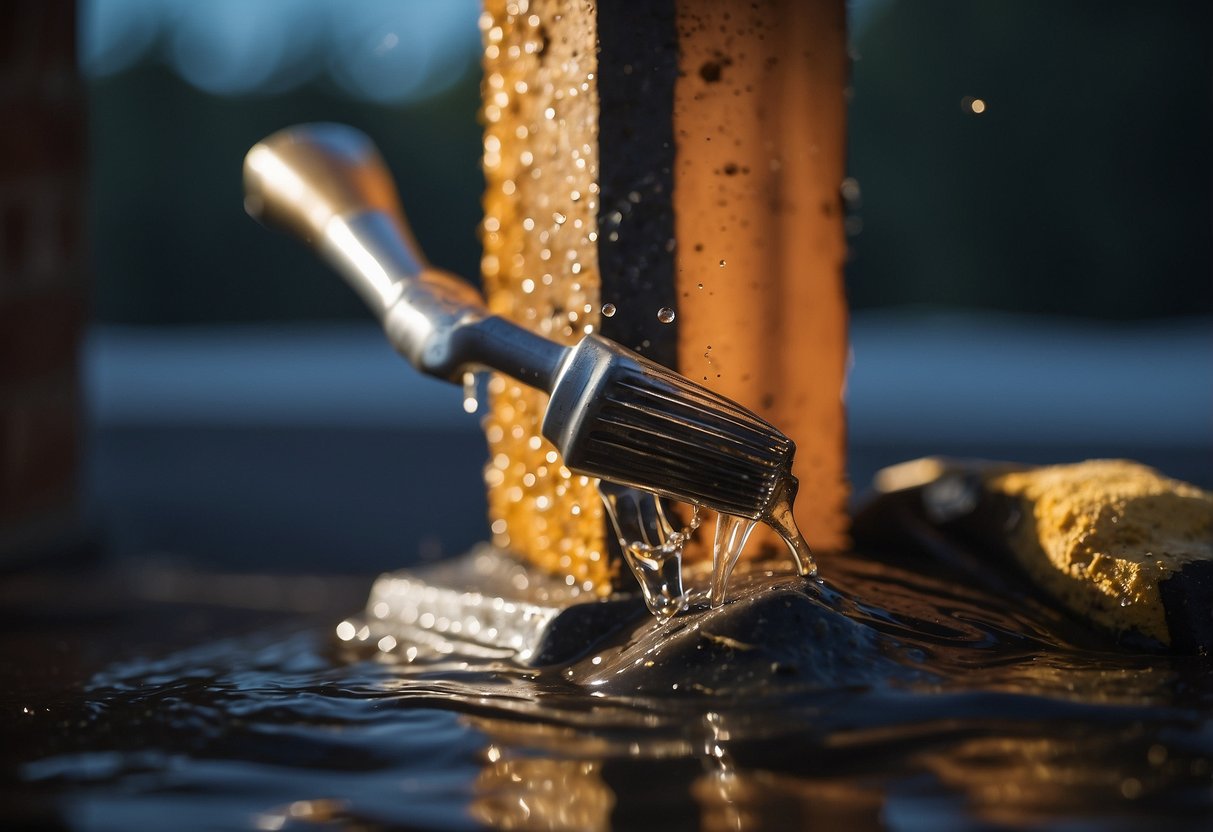
Applying Waterproofing Agents
After inspecting, the next step involves applying the waterproofing agent. Professionals use high-quality waterproofing sealants designed specifically for chimneys. These sealants create a barrier to prevent moisture from seeping into the masonry.
Before applying, the surface is cleaned to ensure better adhesion. The sealant is then sprayed or brushed onto the chimney. Several coats may be applied, depending on the chimney’s condition. In areas with severe weather, extra layers might be added for better protection.
Sealing the flashing is another crucial part. The flashing, which seals the gap between the chimney and roof, is checked for rust and damage. Using a flashing sealant, professionals secure it to prevent water from leaking.
For more details on this process, you can visit Chimcare’s guide which outlines detailed waterproofing methods.
DIY Waterproofing Tips and Best Practices
Applying waterproofing to your chimney can prevent water damage over time. Key steps include choosing the right materials and tools, and following a step-by-step guide to applying the sealant.
Choosing the Right Materials and Tools
Selecting the right materials and tools is vital for a successful DIY chimney waterproofing project. Waterproofing sealants are essential, with silicone and siloxane-based sealants being highly recommended for their lasting protection. These sealants create a barrier that stops water from penetrating the masonry.
Tools needed include a mortar joint raker or wire brush for cleaning the mortar joints. For applying the sealant, a roller, sprayer, or brush can be used. Each tool has its own advantages; choose based on ease of use and your comfort level with each application method.
Inspect the chimney before starting. Look for any damaged bricks or deteriorating mortar joints. Fixing these issues beforehand ensures the sealant will adhere properly and provide maximum protection.
Step-by-Step DIY Guidance
Begin by cleaning the chimney thoroughly. Use a wire brush to remove dirt, debris, and any loose mortar. This prepares the surface for the sealant and ensures better adhesion.
Next, inspect the mortar joints between the bricks. If they are damaged, repair them using mortar. Cleaning out debris from these joints will prevent water from seeping in.
Once the chimney is clean and any repairs are done, apply the waterproofing sealant. Using a sprayer, roller, or brush, cover the entire chimney surface evenly. Make sure to follow the manufacturer’s instructions for drying times and the number of coats needed.
For added protection, consider installing a chimney cricket, a small roof structure that diverts water away from the chimney, reducing the risk of water accumulation and damage. This simple addition can significantly enhance the overall effectiveness of your waterproofing efforts.
Frequently Asked Questions
Chimney waterproofing is crucial for preventing water damage and maintaining the structural integrity of your home. Below are some common questions about chimney waterproofing.
What are the signs that my chimney needs waterproofing?
Signs that your chimney may need waterproofing include white stains on the brickwork, known as efflorescence, and the growth of moss. You may also notice water stains inside your home, crumbling mortar, or rust on the chimney cap.
Can chimney waterproofing prevent structural damage?
Yes, chimney waterproofing can help prevent structural damage. By keeping water out, it prevents deterioration of the bricks and mortar, which can lead to costly repairs. Waterproofing creates a protective barrier that extends the life of your chimney.
What is the process involved in waterproofing a chimney?
The process typically involves several steps. First, any existing damage, such as cracks or gaps, must be repaired. Once fixed, a waterproofing sealant is applied to the chimney’s masonry. To ensure thorough protection, some opt for additional measures like installing chimney caps.
Are there any maintenance tips after waterproofing a chimney?
After waterproofing, regular maintenance is essential. Inspect the chimney periodically for any signs of damage or wear. Clean the mortar joints and replace the sealant as needed. Check for efflorescence or moss buildup, which indicates water entry.
How does weather affect the longevity of chimney waterproofing treatments?
Weather plays a significant role in the longevity of waterproofing treatments. Harsh conditions like heavy rain, snow, and ice can wear down the waterproofing layer over time. Regular inspections and reapplications are vital to maintaining the chimney’s protection in all weather conditions.
What are the risks of not waterproofing a chimney?
Failing to waterproof a chimney can lead to severe issues. Water can penetrate small cracks and cause extensive damage to the structure. Over time, this can result in crumbling mortar, weakened bricks, and costly repairs. Neglecting waterproofing can also lead to leaks and interior home damage.

Can you be more specific about the content of your article? After reading it, I still have some doubts. Hope you can help me.
I don’t think the title of your article matches the content lol. Just kidding, mainly because I had some doubts after reading the article.
Thank you for your sharing. I am worried that I lack creative ideas. It is your article that makes me full of hope. Thank you. But, I have a question, can you help me? https://www.binance.info/ar-BH/register?ref=V2H9AFPY
Thank you for your sharing. I am worried that I lack creative ideas. It is your article that makes me full of hope. Thank you. But, I have a question, can you help me?
Your article helped me a lot, is there any more related content? Thanks!
Your point of view caught my eye and was very interesting. Thanks. I have a question for you. https://www.binance.com/bg/register?ref=V2H9AFPY
You guys really think gamebetvina is better? I had a mixed experience. The selection isn’t bad, but support was kinda slow. Definitely has potential though. Try at your own risk: gamebetvina
56bets is a new one for me. Not a bad interface. Depositing was easy enough. Give her a whirl, you might get lucky: 56bets
Alright, folks! So I tried 91rummybet the other day. Rummy’s my jam, and this site does the trick. Payouts were quick, which is a huge plus. A few more tournaments would be cool, but I’m definitely sticking around. Give it a shot: 91rummybet
Okay, 3388betcassino… classic! They got a good selection of games and the payouts seem fair. Nothing groundbreaking, but a reliable choice. Try your luck: 3388betcassino
Thanks for sharing. I read many of your blog posts, cool, your blog is very good.
Gotta say, 123dbet caught my eye. Gave it a whirl, and I’m impressed! Cool interface. Defo worth a look-see! 123dbet
Your point of view caught my eye and was very interesting. Thanks. I have a question for you.
Played some PKR555game. Feels pretty average to be honest but still worth it for a little bit of fun. Check it out yourself! Here’s the link: pkr555game
Your article helped me a lot, is there any more related content? Thanks!
I don’t think the title of your article matches the content lol. Just kidding, mainly because I had some doubts after reading the article. https://accounts.binance.info/hu/register?ref=IQY5TET4
Thank you for your sharing. I am worried that I lack creative ideas. It is your article that makes me full of hope. Thank you. But, I have a question, can you help me?
Can you be more specific about the content of your article? After reading it, I still have some doubts. Hope you can help me.
Thank you for your sharing. I am worried that I lack creative ideas. It is your article that makes me full of hope. Thank you. But, I have a question, can you help me?
I don’t think the title of your article matches the content lol. Just kidding, mainly because I had some doubts after reading the article.